Как создать и сохранить пользовательские LUT в Photoshop
LUT – отличный способ изменить общий вид изображения одним щелчком мыши, что-то вроде фильтра.
В этом уроке мы покажем вам, как создавать и сохранять пользовательские LUT в Photoshop, и обсудим, зачем они вам нужны. Давайте начнем!
Что такое LUT?
LUT – это сокращение от «таблица поиска» и используется для цветокоррекции. Думайте об этом как о фотофильтре, подобном тем, которые вы найдете в других программах для редактирования, пресетах и платформах социальных сетей, таких как Instagram. По сути, LUT – это «взгляды», которые изменяют общий вид изображения.
Зачем вам нужен LUT?
LUT – отличные инструменты для больших пакетов изображений, к которым вы хотите применить один и тот же вид для создания единого стиля. Прекрасный пример – свадьбы. Фотограф может создать одну или несколько таблиц LUT, которые затем можно будет применить к сотням изображений. Это экономит много времени при работе с большим количеством изображений в Photoshop.
LUT также являются отличным способом создать свой собственный стиль и сохранить его единообразие. Стиль изображения можно в значительной степени определить по тому, как оно было изначально сфотографировано, но многие качества изображения можно изменить с помощью LUT.
В этом уроке мы используем классную цветовую палитру. Но ваши варианты безграничны; вы можете выбрать высококонтрастный, черно-белый, матовый или насыщенный вид. Все, что вы можете придумать. И в конечном итоге вы откроете для себя свой стиль, который укрепит ваш бренд на платформах, на которых вы делитесь своей работой.
Как создать и сохранить пользовательские LUT в Photoshop
Создание и сохранение LUT требует нескольких шагов. Давайте сразу же приступим.
1. Создайте корректирующие слои для пользовательской LUT.
Для начала мы добавим несколько корректирующих слоев в стек, который станет нашей LUT. Наша цель для этого изображения – снизить цветовую температуру.
Вы можете загрузить изображение, которое мы используем для этого урока, на Pexels, если хотите продолжить.
Чтобы создать корректирующие слои:
-
Убедитесь, что фоновый слой заблокирован; должен быть значок замка. Если нет, перейдите в New > Layer > Background from Layer .
Transform your Photos with LUTs in Photoshop, THE USER GUIDE.
LUT stands for Look Up Table. These were originally used by filmmakers and videographers and applied to video to create film looks in movies and to convert from one color space to another. A very common use for LUTs is previewing, or converting footage shot in a log mode. These are essential tools in color grading and emulating classic film looks.
To over simplify, they are presets. They actually remap the color values, based on the color lookup CLUT. In imaging, think of Web Safe colors, that is actually a very simple form of a LUT, or you could also think of curves. I’m going to just leave it at that, as the explanation can get very technical, very quickly. We focus on the practical here at the CAFE. How can I actually use it. We are artists not scientists.
You can use LUTS to enhance and apply color grading to your images in a single click in Photoshop. They are powerful, quick and easy to use.
You will see them go by different extensions which all work in Photoshop, (both latest version and CS6); .3DL, .CUBE, .look. The same LUTS will work in other apps such as After Effects, Premiere Pro, Final Cut Pro, Resolve and others.
Using LUTS in Photoshop
LUTs are easy to use in Photoshop. I will show you how to use them here and provide a couple very handy tips.
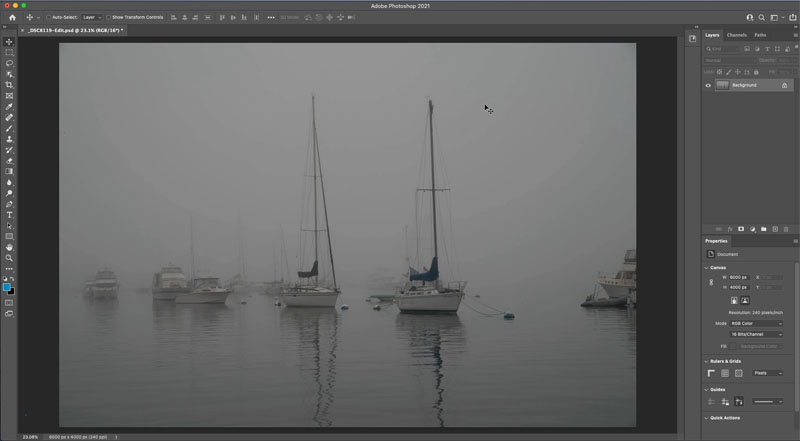
The original photo in Photoshop. An image I captured locally, unedited, straight out of Camera.
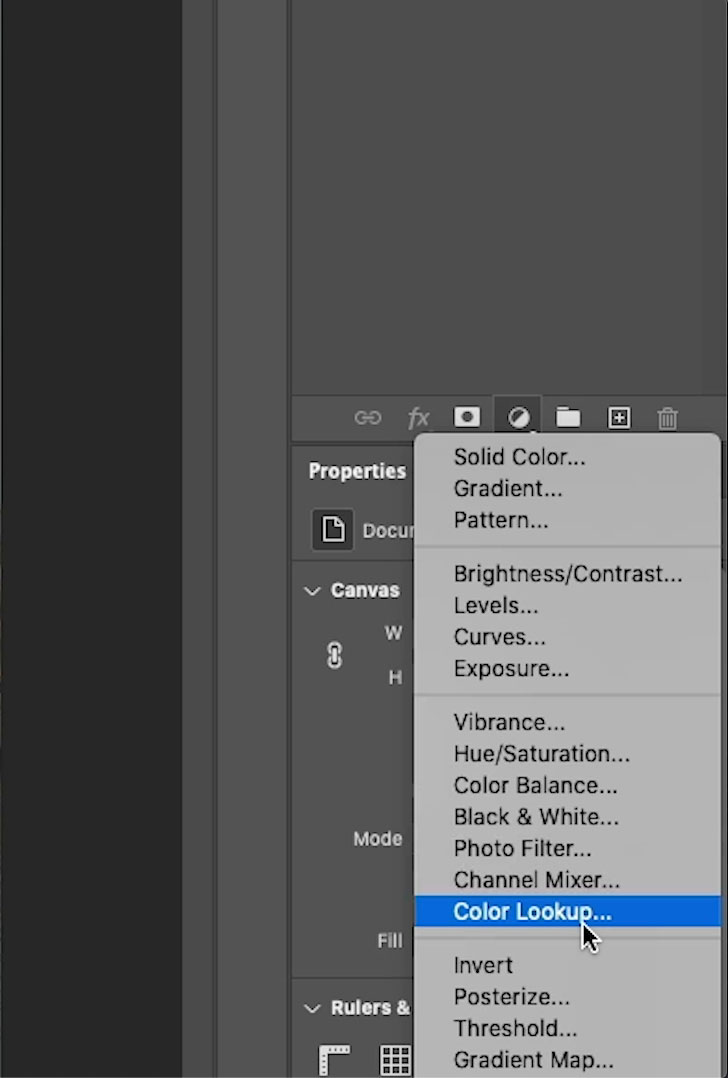
Click on the Adjustment Layer icon.
Choose Color Lookup.
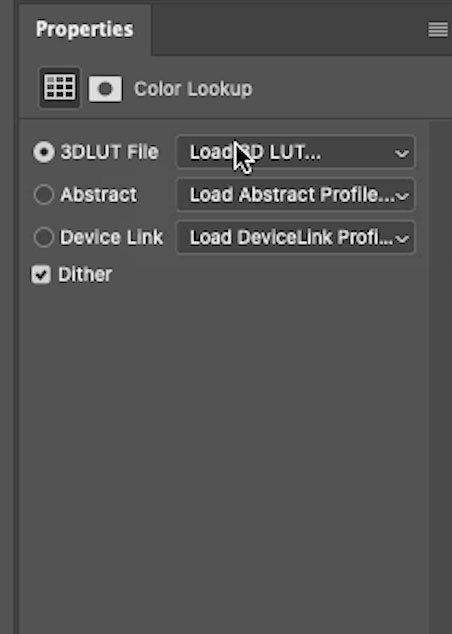
Open the Properties inspector. Window>Properties
Click on Load 3D LUT
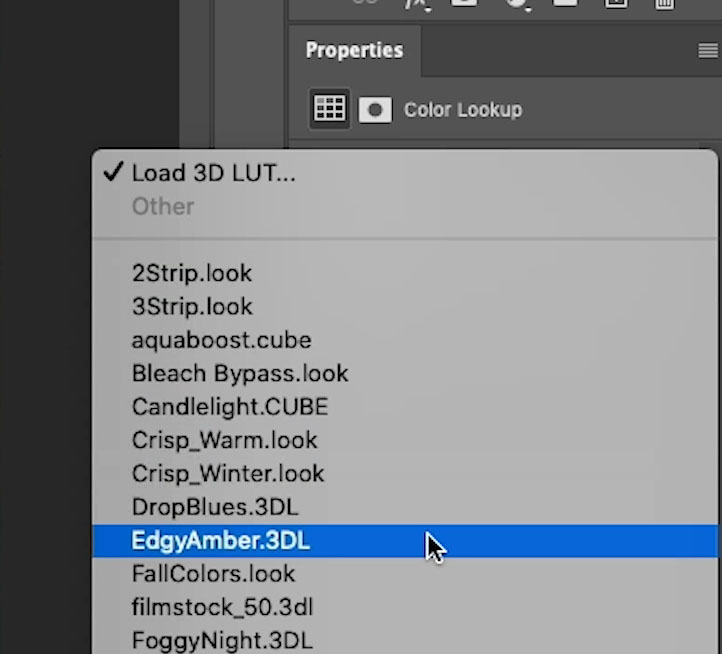
You will see a list of LUTs that ship with Photoshop. I’ll give you more soon, stay tuned.
Here we are choosing the Edgy Amber one.
You can see how it changes the color and tonality of the photo. There are no settings for LUTs, or so they tell us, hehe. (I’ll show you a tip in a sec)
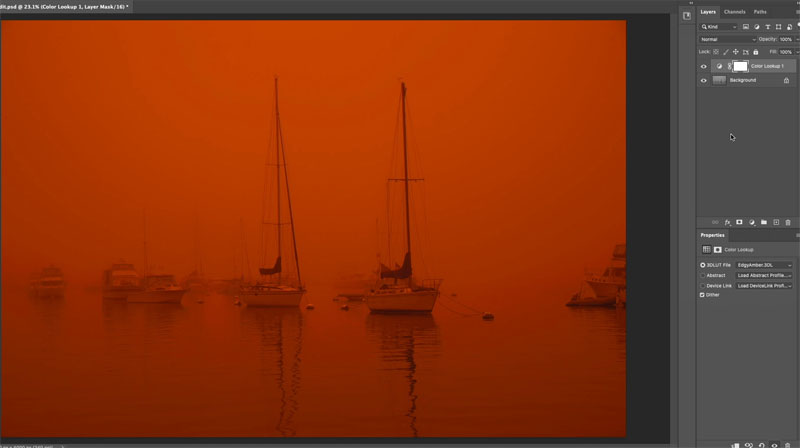
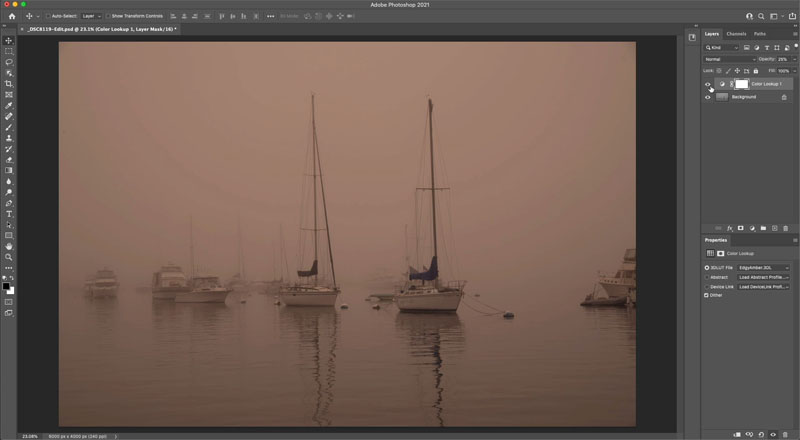
You can change the intensity of a LUT by adjusting the opacity.
You can always change the Layer Blending mode too.
Changing the Color and Luminosity sliders on LUTS,
“Wait? What Sliders,” you say? “LUTS don’t have settings”. You are right and you are wrong.
I had an epiphany one day and I’m going to share it with you, here first.
Duplicate the LUT layer, so you have 2 layers.
Change one to Color Blending Mode and the other to Luminosity blending mode.
Adjust the opacity on the color layer to vary the color
Adjust the opacity on the Luminosity layer to alter the tone
(If you share this tip, I’d love the credit, wink, wink)
Using your own Custom LUTs in Photoshop
Although Photoshop ships with some LUTs you can extend the usefulness by using your own LUTs, or ones you have acquired.
Click on the Adjustment Layer icon.
Choose Color Lookup.
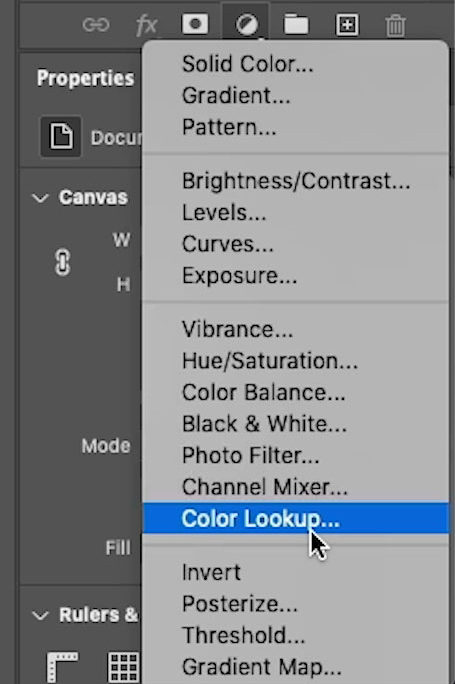
Click on Load 3D LUT in the Properties panel.
When the menu opens, click on Load 3D LUT a second time.
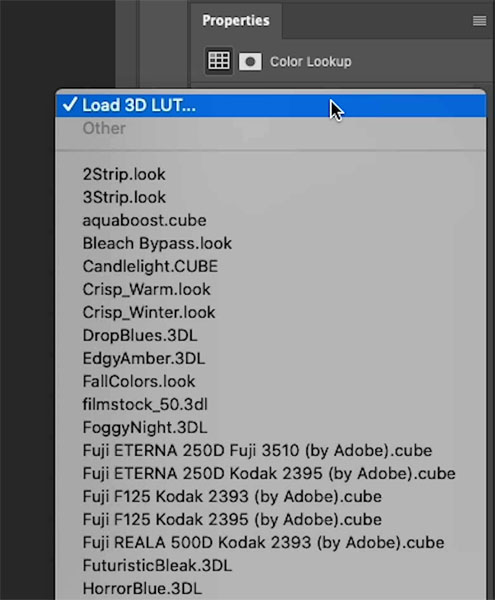
Now you can navigate to your computer.
Find some LUTs you have on your system (I’ll hook you up with some)
Choose the LUT you want to use, in this case, the Punch.CUBE LUT that I created,
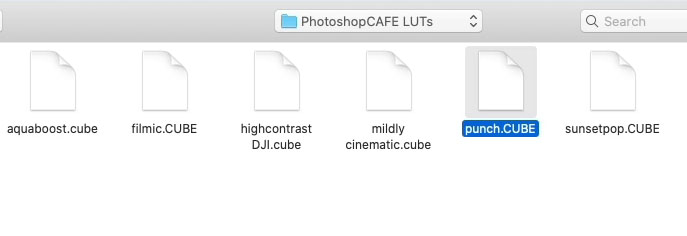
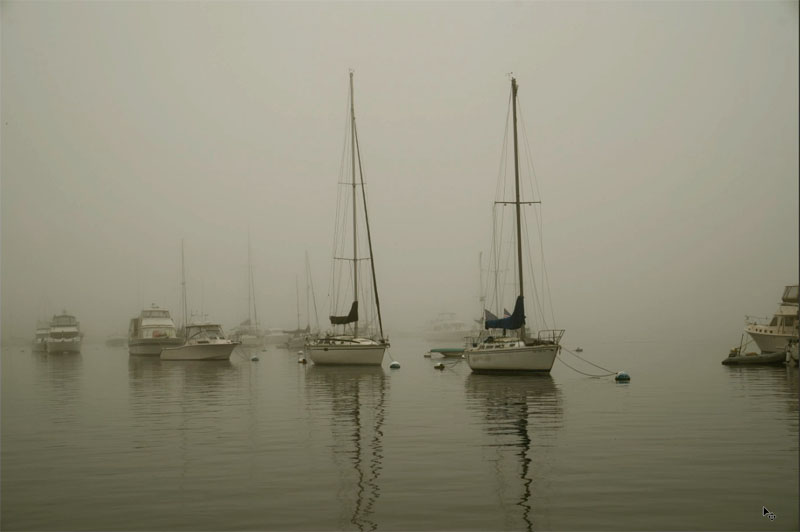
Immediately you will get the look on the photo. This one adds ..punch and a nice rich sepia tone.
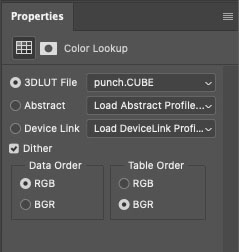
You will see the punch LUT is selected in the Properties inspector.
Let’s try another of my custom LUTs, click on Mildly Cinematic.CUBE
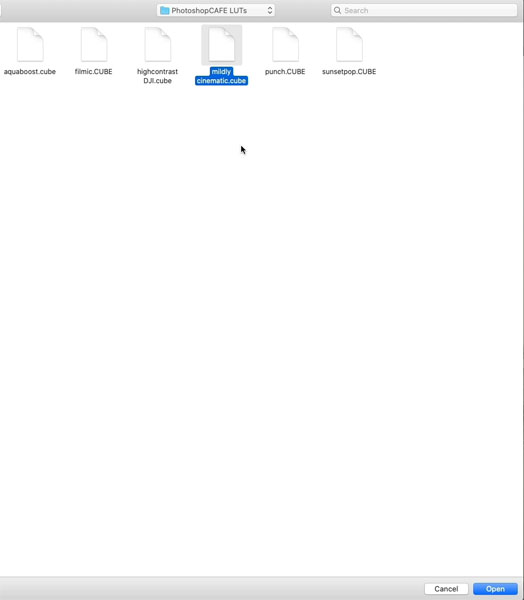
And we get a totally different look. (Which one did you prefer?)
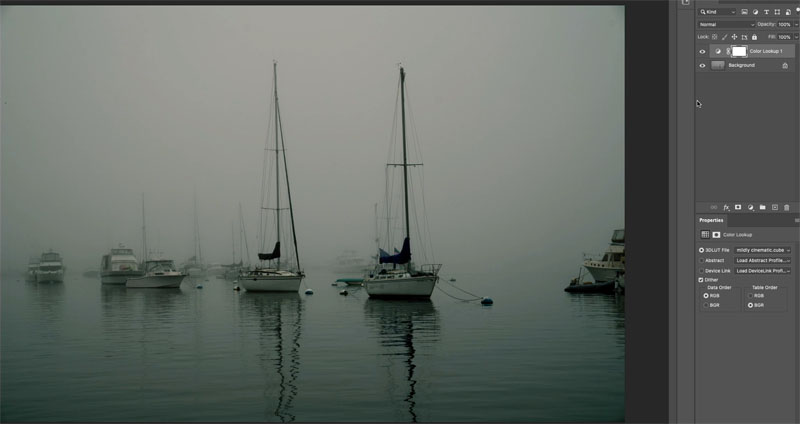
As you can see, using these LUTs can transform your images instantly and dramatically.
A challenge with the custom LUTs is having to lad them in each time, they don’t stay in the menu. I’m going to show you how to get them in the menu all the time.
But first, you will need some LUTs to install. Ta-da.
Now you are waiting for me to sell you some LUTs right? Nope, I’m going to give you the two I just showed you, as well as more.
Downloading free quality LUTs
Not only will you get the LUTs, you will also get Actions, presets, brushes, eBooks, profiles, cheat sheets, sky packs and more. I call this collection the Photoshop Vault. I have put a LOT of time and work into creating this master set of Photoshop tools. I decided, I wanted to thank you for all your years of supporting my efforts here at the CAFE (20 years). So I am giving them to you, free. I hope you enjoy. I have installation instructions included with each preset pack.
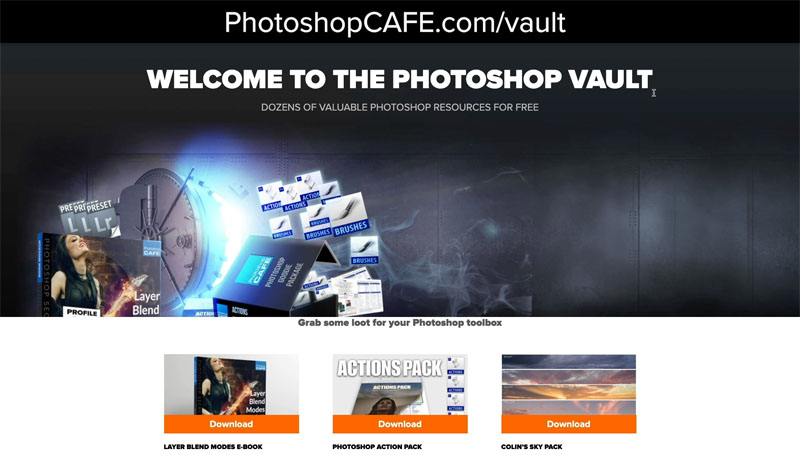
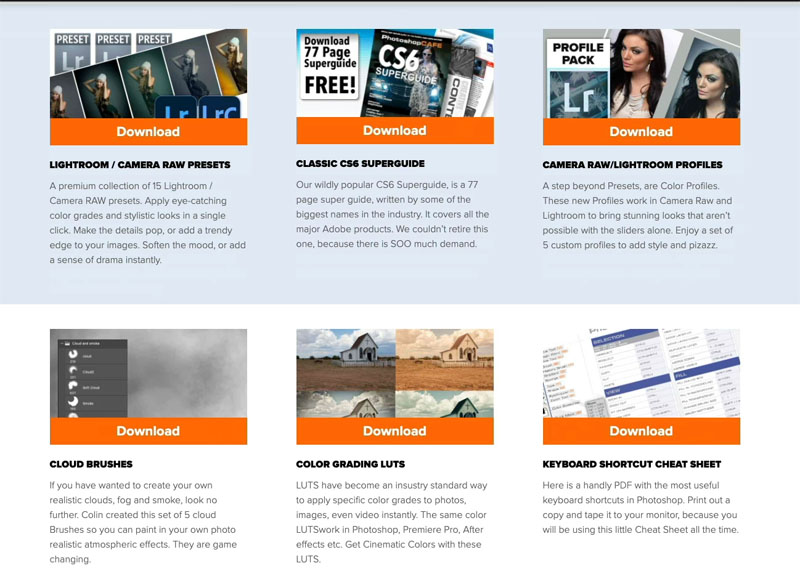
Once you download these goodies, just unzip them (they are in Zip files)
On MAC, Double click to open.
Windows, Right-Click the zip folder, Select Extract all and choose a location to extract them. Extract them to a location you can find, like the desktop, don’t open to a random location. Then save a copy somewhere for safe keeping.
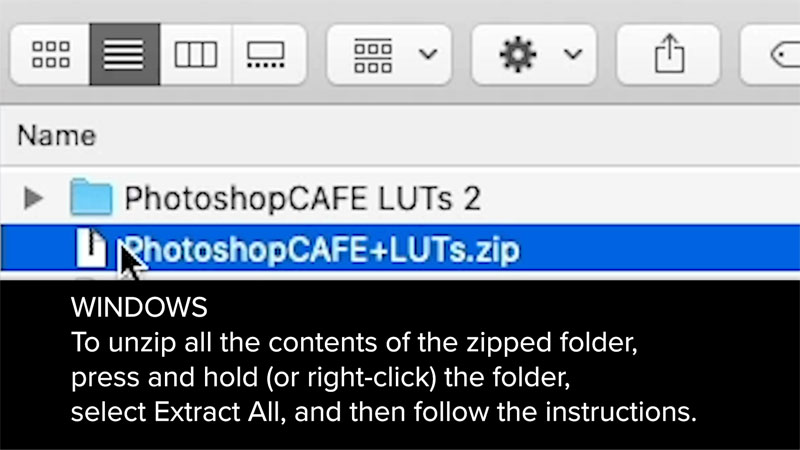
Installing Luts in Photoshop, so they stay in the menu.
One of the challenging things about custom LUTs is having to load them every time you want to use them.
Here is how you can load your LUTs into the menu in Photoshop!
Find your installation folder for Photoshop
On MAC its probably Applications/Adobe Photoshop/Presets/3DLUTs
Windows C:\Program Files\Adobe\Adobe Photoshop\Presets\3DLUTs
(These locations could change in future updates, and might be different in older versions. If they do and I haven’t updated this yet, Google “where are LUTS in Photoshop, on my computer”)
Drag your set of LUTs into the Folder. (Copy, don’t move, unless you have already backed them up).

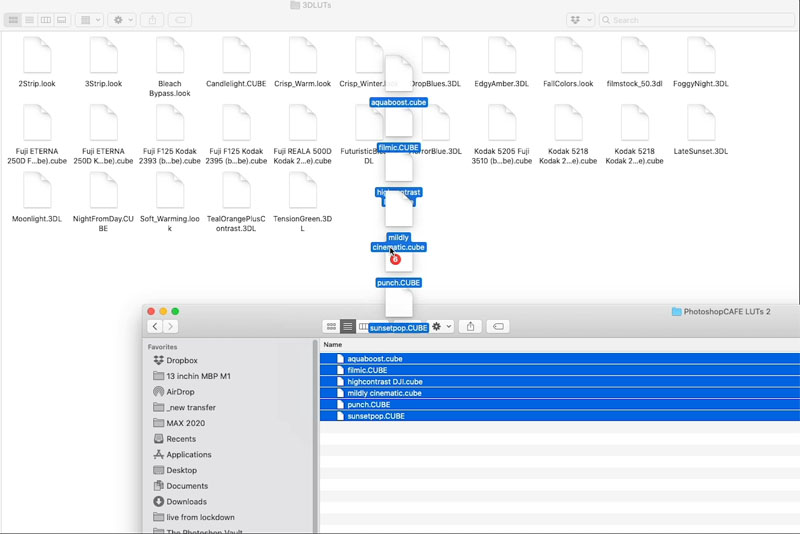
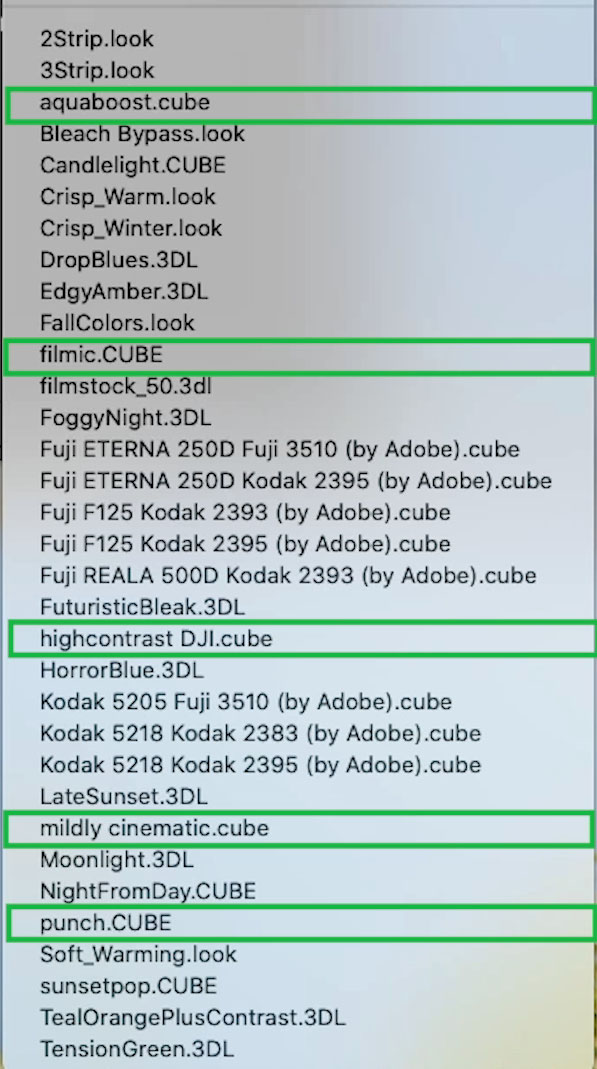
Restart Photoshop and you will now see the custom PSC LUTs loaded in when you use LUTs the next time.
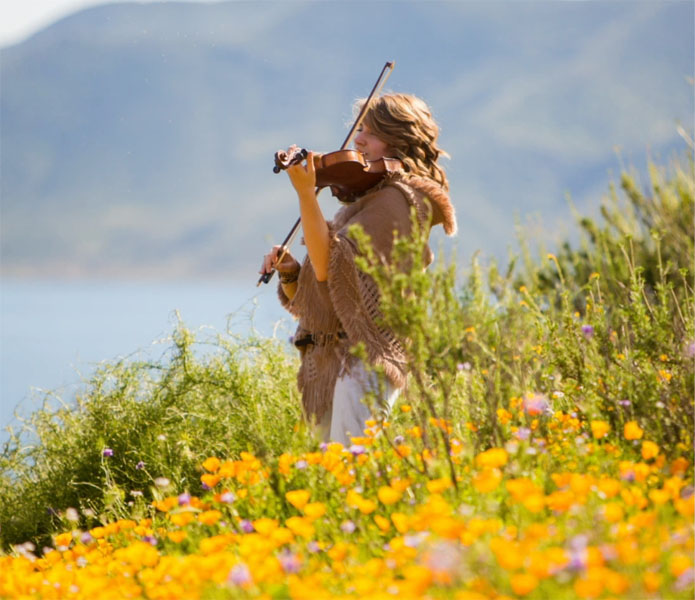
All ready for use on another photo that I shot of musician Taylor Davis.
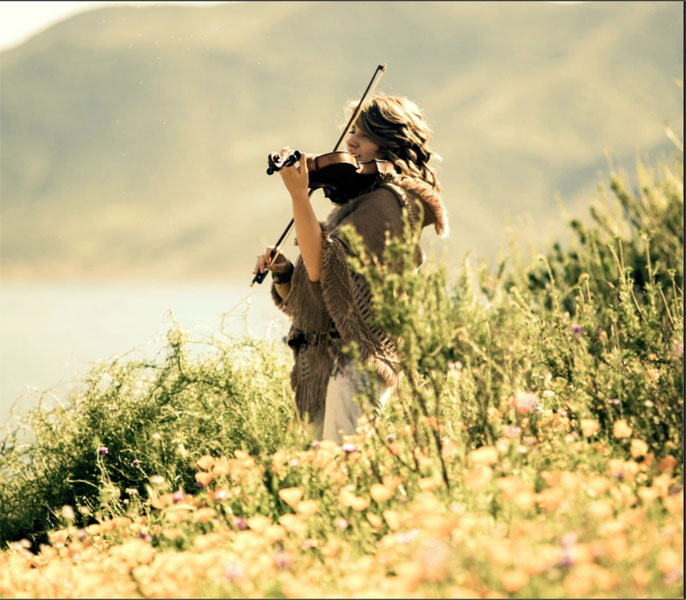
And here is the filmic LUT in action. Remember, you can adjust the opacity to reduce the effect, if it’s too strong.
I really hope that you found this tutorial useful.
Consider following me on social media for more Photoshop updates and tip of the day. (every platform @photoshopCAFE).
14 responses to “How to use LUTs in Photoshop and how to Install LUTs in Photoshop”
Thank you, Collin. I really appreciate your tutorials. Those LUTs are really impressive stuff. I’ve used them in Premiere and surely will get a hand on them in Photoshop now. I’ve got a question: what’s the reason behind calling theses files 3dlut. What’s the 3D for?
Thanks for the freebies Colin! I’ve often wondered about LUTs and you have answered my questions! Love your tutorials!
Thank you! I appreciate your devotion to teaching Photoshop!
Great info once again! I’ve been using Photoshop and Premiere for years and didn’t know about LUTS.
Thanks Colin.
Colin. Thanks for the knowledge and thanks for the extra goodies. Very kind of you.
Sorry Colin, Where is the like button. Thank you for your many great tutorials.
Как установить LUTs в Photoshop
Установка LUT файлов для цветокоррекции в Фотошоп. Лут можно использовать не только для видео, но и в Photoshop.
3 простых шага для установки LUTs в программу Adobe Premiere Pro CC:
1.Скачать LUTs — Выберите подходящий LUT и загрузите его к себе на компьютер
2.Установить LUT в папку Premiere Prо — Перекинуть файлы цветокоррекции LUT в папку программы Premiere Pro по адресу: Program Files\Adobe\Adobe Premiere Pro CC Версия\Lumetri\LUTs\Creative
3.Перезапустить Premiere Prо — После того как переместили луты в папку программы, нам нужно её перезапустить (Закрыть и снова открыть)
Использовать LUT в Photoshop можно как с установкой (когда можно выбрать из списка загруженных LUT в самой программе) так и без установки (когда необходимо вручную в Фотошопе указать где находится желанный LUT.
Шаг 1:
Для установки LUT необходимо переместить файлы с Лутами в папку Photoshop.
По Умолчанию это — C:\Program Files\Adobe\Adobe Photoshop CC версия\Presets\3DLUTs
Перезапустить Фотошоп (если он у Вас был открыт), создать новый корректирующий слой поиска цвета и выбрать установленный LUT
How To Install Luts In Photoshop Solved 2023
Check out How To Save Multiple Layers In Photoshop As Jpeg?
There are a few ways to add LUTs to Photoshop. One way is to use the “LUTs” tab in the “Color” panel. You can also use the “LUT Editor” plugin.
There are a few ways to install LUTs, depending on your software and preferences.In Adobe Photoshop, go to File > Preferences > LUTs. From here, you can select which LUTs you want to use, as well as adjust their settings.In Premiere Pro, go to Edit > Preferences > Color Management. Here, you can also select which LUTs you want to use, as well as adjust their settings.
There are a few ways to add color to LUTs in Photoshop. One way is to use the Eyedropper tool and sample colors from your image. Another way is to use the Color Range tool and select a range of colors that you want to use as your LUTs.
There are a few ways to open a LUT file. One way is to use a program that can open LUT files, such as Adobe Photoshop or GIMP. Another way is to use the LUT file’s native application.
There is no one-size-fits-all answer to this question, as the best way to load color lookup may vary depending on your specific needs. However, some tips on how to load color lookup can include using a color picker tool or using a color palette.
There are a few ways to use LUTs in your photography. You can use them as a color correction tool, to adjust the overall brightness or contrast of a photo, or to change the colors of an object.
To add a color lookup in Photoshop, open the Color Settings dialog box by selecting File > Color Settings. In the dialog box, click on the “Add a color lookup” button. In the “Add a color lookup” dialog box, specify the name of the color lookup file and click on the OK button.
There are no preset LUTs. Each LUT is created specifically for the video or image it will be applied to.
There are a few ways to add LUTs to Lightroom. The easiest way is to go to the Develop module and select the LUTs panel. You can also use the Export module to export your LUTs as a . LUT file. Finally, you can create a new preset and add your LUTs there.
There are a few places where you can find free LUTs. One option is to use the ToneMapping.com website. This website offers a library of free LUTs that can be used in video editing and photo editing applications. You can also find free LUTs on the websites of various video-editing software providers, such as Adobe Premiere Pro and Final Cut Pro.
Yes, Photoshop comes with a variety of LUTs to help you adjust the color of your photos.
There is no one-size-fits-all answer to this question, as the process of converting a Photoshop preset to a LUT will vary depending on the preset and your editing software. However, some tips to converting presets include: searching for a similar preset that you want to convert, checking the file size and format, and trying out different conversion methods until you find one that works well with your editing software.
In Photoshop, go to the Layers panel and click on the New Adjustment Layer button. From the resulting menu, choose Color Lookup Table. Name the layer whatever you like and click OK. In the Color Lookup Table dialog box that opens, you’ll need to provide a name for your LUT (e.g., “Blue Sky”), a reference color (which can be any color in your image), and an output color (which should be the color of your desired result).
LUT format is a common file format used for color grading and video post-production.