Как включить камеру в Дискорде через обс
Discord — это популярный мессенджер, который предоставляет возможность общаться с разными людьми в режиме онлайн. Одним из главных преимуществ Discord является возможность включения камеры и проведения видеочата. Однако, некоторые пользователи сталкиваются с проблемами при попытке включить камеру в Discord. В этой статье мы расскажем, как использовать OBS для того, чтобы включить камеру в Discord и решить возможные проблемы.
Как включить камеру в OBS
Прежде чем начать использовать камеру в Discord, необходимо настроить OBS. Для этого нужно выполнить следующие действия:
- Откройте OBS и выберите пункт “Источники” в нижнем разделе экрана.
- Нажмите на кнопку с изображением “+” и выберите опцию “Устройство захвата видео”.
- В появившемся окне выберите “ОК”.
Как запустить виртуальную камеру в OBS
После настройки OBS необходимо запустить виртуальную камеру. Для этого нужно выполнить следующие действия:
- Откройте OBS Studio.
- Найдите блок “Управление” справа внизу экрана.
- Нажмите на кнопку “Запустить виртуальную камеру”.
- Виртуальная камера запустится.
Теперь вы можете использовать виртуальную камеру в Discord.
Почему я не могу включить камеру в Discord
Если у вас возникли проблемы с включением камеры в Discord, то есть несколько возможных причин:
- Не совместимые драйверы камеры. Убедитесь, что драйверы вашей камеры (если есть) обновлены до последней версии.
- Включено аппаратное ускорение в настройках Discord. Попробуйте отключить его и проверить работу камеры еще раз.
- Возможно, проблемы с несовместимостью версий. Попробуйте установить бета-версию Discord.
Как включить камеру в Discord
Если все настройки в OBS выполнены правильно, и проблем с несовместимостью версий преодолены, то можно перейти к настройке включения камеры в Discord. Для этого выполняйте следующие действия:
- Откройте Discord и выберите опцию “Настройка камеры”.
- Выберите опцию “OBS-Camera” в качестве источника камеры.
Полезные советы и выводы
- Обновляйте драйверы камеры до последней версии, чтобы предотвратить возможные проблемы.
- Если у вас возникли проблемы с включением камеры, попробуйте отключить аппаратное ускорение в настройках Discord и проверьте работу камеры еще раз.
- Использование OBS в качестве источника камеры дает возможность создавать уникальные и интересные эффекты для видеочатов в Discord. Возьмите в том числе на заметку и это.
- Не забывайте проверять совместимость версий Discord и OBS, чтобы избежать возможных проблем с работой камеры.
Как разблокировать видеокамеру на ноутбуке
Иногда на ноутбуках возникают проблемы со включением камеры. Чтобы разблокировать видеокамеру на ноутбуке, следует выполнить несколько простых действий. Нажмите на кнопку «Пуск» и откройте панель параметров. Далее, выберите опцию «Конфиденциальность», где вы сможете управлять настройками камеры. Перейдите к разделу «Камера», где будет отображена информация о доступе устройства к камере. Если параметр «Доступ к камере» отключен, вам нужно нажать на кнопку «Изменить» и включить его. Сохраните изменения, чтобы камера начала работать. Если проблема не решается, попробуйте перезагрузить устройство или связаться с техподдержкой. После выполнения этих простых действий камера на ноутбуке будет снова работать.
Как разрешить доступ к камере на компьютере
Для того чтобы разрешить доступ к камере на компьютере, нужно выполнить следующие действия. Сначала перейдите в «Пуск» и выберите «Параметры». Затем откройте «Конфиденциальность и безопасность» и найдите раздел «Камера». Проверьте, что параметр «Доступ к камере» включен. Если он выключен, включите его. Затем необходимо убедиться, что параметр «Разрешить приложениям доступ к камере» также включен. Если он выключен, включите его. После этого приложения, которые требуют доступ к камере, смогут работать корректно. Но не забывайте, что при использовании веб-камеры следует быть осторожным и использовать ее только в надежных приложениях, чтобы избежать утечки конфиденциальной информации.
Как включить камеру с заблокированным экраном
При использовании смартфонов в быту и на работе, камера является одним из наиболее используемых приложений. Как бы ни было, зачастую возникает проблема — как включить камеру на заблокированном экране. Но не стоит беспокоиться, приборы с различными операционными системами обладают интуитивно понятными функциями для такого случая. Например, владельцы Apple-устройств могут воспользоваться функцией «клавиша камеры». При заблокированном экране нужно просто нажать на эту клавишу и удерживать до тех пор, пока камера не запустится. После этого можно сделать фотографию или записать видео. Теперь точное воспроизведение моментов в нашей жизни стало проще и доступнее.
Как сделать зеркальную камеру в Дискорде
Дискорд — это одно из самых популярных приложений для общения и игр с друзьями. Для того, чтобы сделать зеркальную камеру в Дискорде, нужно выполнить несколько простых действий. Необходимо нажать на кнопку «Настройки веб-камеры» под окошком с изображением камеры. После этого откроется окошко «Свойства», где можно выбрать нужные настройки, включая «Зеркальное отображение». Зеркальная камера может быть особенно полезной для стримеров и ведущих, поскольку позволяет им увидеть, как выглядят на видео также, как и зрительница. Настройка камеры в Дискорде позволяет получить качественные, профессиональные видеозаписи, что особенно важно для создания контента и проведения онлайн-лекций.
Если вы хотите использовать программу OBS для трансляции своего лица в Дискорде, то вам придется включить камеру через настройки. Для этого перейдите в раздел Настройки и выберите Общие настройки. В этом разделе выберите Настройки камеры и найдите опцию OBS-Camera. Эта опция позволит вам использовать вашу камеру в качестве источника видеопотока для трансляции в Дискорде. Если вы хотите изменить настройки камеры или настроить дополнительные функции OBS, то вы можете сделать это в разделе настройки программы. С помощью данной опции вы сможете делиться своими впечатлениями с другими пользователями Дискорда, используя видео.
How to Use OBS Virtual Camera on Discord
Before diving into the specifics of using OBS Virtual Camera on Discord, it’s beneficial to understand these two platforms. OBS Studio is a free and open-source software used for streaming and recording. It complements Discord, a voice, video, and text communication service used by over a hundred million people worldwide.
OBS Studio
OBS Studio is an incredibly versatile platform used primarily for broadcasting video streams. It offers a feature known as the OBS Virtual Camera, a tool that allows you to use the OBS output as a camera in other applications. This is handy for sharing screen activity or creating custom video effects.
Discord
Discord is primarily a platform for gamers to communicate while playing. Still, its easy-to-use interface and robust feature set have made it popular among a broader audience. It includes features like text channels, voice communication, and video calls.
Setting Up OBS Virtual Camera
Using OBS Virtual Camera requires an initial setup process. Let’s walk through the steps involved.
Download and Install OBS Studio
First, download OBS Studio from the official website. Install the application on your computer following the prompts provided during the installation process.
Configure OBS Virtual Camera
Upon successfully installing OBS Studio, launch the application. To start the Virtual Camera, go to the “Controls” panel located at the bottom-right of the OBS interface, then click on “Start Virtual Camera”.
Integrating OBS Virtual Camera with Discord
Having configured your OBS Virtual Camera, the next step is integrating it with Discord for use in your video calls.
Discord Video Settings
Open Discord and navigate to the “User Settings” represented by a gear icon next to your username in the bottom-left corner. In the settings menu, find the “Voice & Video” settings under the “App Settings” section.
Selecting OBS Virtual Camera
Under the “Video Settings” section, locate the “Camera” dropdown menu. Click on this dropdown and select “OBS Virtual Camera” from the list of available video devices. With this done, OBS Virtual Camera is now your primary video source in Discord.
Broadcasting with OBS Virtual Camera on Discord
With the OBS Virtual Camera set up and integrated with Discord, you’re now ready to start broadcasting. Whether it’s for a video call, live stream, or gaming session, you have a versatile tool at your disposal.
Starting a Video Call on Discord
To start a video call, select a contact from your friends list and click the video call button. The OBS Virtual Camera will automatically be used as your video source, broadcasting whatever OBS is outputting.
Sharing Your Screen with OBS on Discord
Besides using OBS as a webcam, another popular use case is sharing your screen with OBS on Discord. This is particularly useful during live game streaming sessions or virtual meetings.
Conclusion
OBS Virtual Camera is a powerful tool that can greatly enhance your Discord experience. Whether it’s for video calls, streaming, or recording, it opens up a wide range of possibilities. With a bit of setup and configuration, you can start using OBS Virtual Camera on Discord in no time.
How do I use OBS Studio Virtual Camera on Discord?
Follow the instructions above to install and setup OBS Studio Virtual Camera, and then integrate it with Discord under the “Voice & Video” settings.
Can you use OBS with Discord?
Yes, you can use OBS with Discord. OBS can be used to create a virtual webcam that can be used in Discord video calls.
How do I use Discord as a virtual camera?
Discord itself does not provide a virtual camera feature. Instead, you can use the OBS Virtual Camera as your video source on Discord.
How to use OBS as webcam?
To use OBS as a webcam, you need to start the Virtual Camera in OBS and then select OBS Virtual Camera as your video source in other applications, like Discord.
What if OBS Virtual Camera is not showing up in Discord?
If OBS Virtual Camera is not showing up in Discord, ensure that OBS is running and the Virtual Camera is started. Additionally, you may need to restart Discord or your computer. Check the compatibility of your OBS and Discord versions, as well.
How to Add OBS Virtual Camera to Discord on Windows & Mac
Discord provides only a few effects and virtual background which you can add to your webcam screen on a video chat. To enrich your video call, you may like to add more filters and effects or share your favorite music, videos, and games along with your webcam video, virtual Camera Software like OBS Studio would be one perfect way to do this job.
OBS Virtual Camera provided by OBS Studio is one of the top virtual camera software which is able to put multiple sources into one so that you can enrich your video call on Discord, which is cool and amazing.
In this article, we explain how to add OBS Virtual Camera to Discord on Windows and Mac step by step, as well as tricks to quickly fix OBS Virtual Camera not working on Discord.
How to Add OBS Virtual Camera to Discord on Windows PC
To successfully add OBS Virtual Camera to Discord, you can follow this detailed guide:
Step 1. Download OBS Studio to Your Windows Computer
Previously, to use OBS Virtual Camera on any platform, you had to download and install an OBS Virtual Camera Plugin in addition to the OBS Studio software program. Thankfully, you do not have to go through such a lengthy process anymore. OBS has integrated the virtual camera plugin into the OBS Studio App. As such, you only have to download the latest OBS Studio Application to use the virtual camera. If you do not already have the app, you can download it here. Ensure you download the version of the app compatible with Windows.
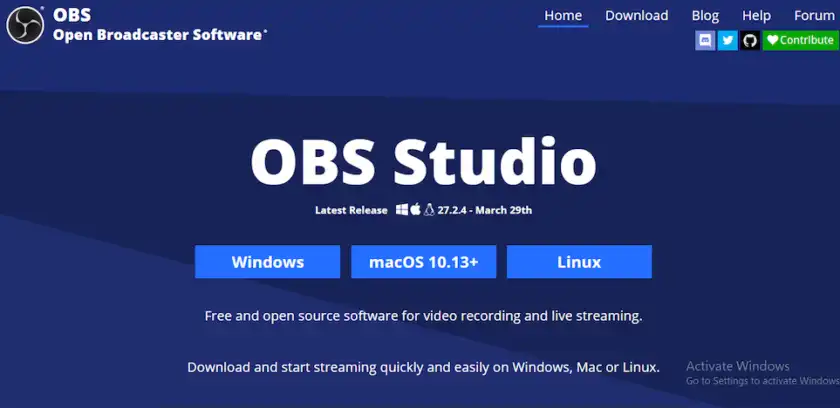
Add OBS Virtual Camera to Discord – Download OBS Studio
Step 2. Install and launch OBS, and add your webcam, video, or other media content you want to share with your Discord friends.
Once downloaded, install and launch the program. With the app opened for the first time, you would have to set up your desired webcam as a source device. To do this, go to the Sources box, which you will find at the bottom of your screen. Click the plus sign + within the box. You should see a list of options to add as sources. Select Video Capture Device and choose your desired webcam, whether in-built or external.
Add OBS Virtual Camera to Discord – Add Video Source or Media
Step 3. Click Start Virtual Camera.
After setting up your video capture device, you will be able to see your webcam feed on the screen. You can then click on “Start Virtual Camera,” which you will find at the bottom right of the screen. This option would activate the OBS Virtual Camera, and you would be able to select it as an option on any platform that supports webcam use.
Start OBS Virtual Camera on Windows
Step 4. Go to Discord Settings > Voice & Video > Select OBS Virtual Camera under the CAMERA section.
Click on Voice & Video under App Settings. Scroll down to video settings and click ‘Test Video.’ The camera might be set by default to your in-built webcam. Hence, you will have to change it to OBS Virtual Camera. You can do this by clicking on ‘Camera’ right under your video preview. Then select ‘OBS Virtual Camera.’ Now, you should be able to see your OBS Virtual Camera feed right in the video preview. Thus, whatever settings you have made to your webcam in OBS Studio would apply to the Discord Platform.
Add OBS Virtual Camera to Discord
How to Add OBS Virtual Camera to Discord on Mac Computer
The process of adding OBS Virtual Camera to Discord on MacOS is pretty identical to the process on Windows. OBS has also integrated the Virtual Camera into the Mac OBS Studio app. As such, you do not have to download a separate plugin, as was usually the case.
Step 1. All you have to do is download the OBS Studio program.
Step 2. Start Virtual Camera, and select OBS Virtual Camera as the source camera on Discord.
Step 3. Once you’ve done that, you should be able to mirror what you have in OBS Studio on Discord.
What If Discord Can’t Detect OBS Camera on Mac?
You might discover that on your Mac, you can’t find the ‘OBS Virtual Camera’ as a source camera option on Discord. To get your Mac virtual camera to work on Discord, here’s what you need to do.
Step 1. Launchpad > Open the Terminal app on your Mac. And paste into the terminal:
Xcode-select –install
Step 2. Put in your password. NOTE: you will not see the password is put in, but it will be registering it.
Step 3. After that, paste the following command and then input your password again.
sudo codesign –remove-signature “/Applications/Discord.app/Contents/Frameworks/Discord Helper (Renderer).app”
Step 4. Now, re-sign the application.
sudo codesign –sign – “/Applications/Discord.app/Contents/Frameworks/Discord Helper (Renderer).app”
Note:
If step 3 can’t allow the virtual camera to work after you restart your Mac, try using the following command as you did with step 3 it see whether it works.
sudo codesign –remove-signature “/Applications/Discord.app/Contents/Frameworks/Discord Helper.app”
And if it still does not work, you can try
sudo codesign –remove-signature “/Applications/Discord.app/Contents/Frameworks/Discord Helper (GPU).app”
And if it still does not work you can try
sudo codesign –remove-signature “/Applications/Discord.app/Contents/Frameworks/Discord Helper (plugin).app”
How to Fix OBS Virtual Camera Not Working
This could be a result of a number of factors. To fix this OBS Virtual Camera problem, kindly follow this checklist.
Tip 1. Have You Clicked ‘Start Virtual Camera’?
The first thing to do is check if you started ‘Virtual Camera’ in OBS Studio. If the virtual camera is not activated in the app, ‘OBS Virtual Camera’ would not appear as an option on any platform, including Discord. Once you’ve started the virtual camera, restart Discord and check if OBS Virtual Camera is detected.
Tip 2. Try to Update Discord & OBS Studio
If this does not work, you might have to update both OBS Studio and Discord to their latest versions in case it is a compatibility issue. You can check for updates on OBS Studio by clicking ‘Help’ and selecting ‘Check for Updates.’ You can then update the program to the latest version. You can also download the latest Discord version from the manufacturer’s website.
OBS Virtual Camera Not Working – Check for Update
Tip 3. Make Sure You’ve Added Video Capture Video
Even after adding OBS Virtual Camera on Discord, you might find that the camera is not working. There are some options you can explore to fix this problem. First, check that you correctly set up your video capture device in OBS Studio. If OBS Studio is not actually connected to your webcam, there would be no video to transmit via the virtual camera, making it appear as though OBS Virtual Camera.
Tip 4. Other Apps May Use Your Virtual Camera
Another reason the virtual camera might not work on Discord is that another application is using your webcam. Since only one application can use your webcam at a time, your OBS Virtual Camera would not work. To fix this, ensure you turn off your video in other apps that support webcam use. This includes your native camera app, Zoom, Google Meet, and Skype. You can also try restarting both OBS Studio and Discord.
Conclusion
With the above guide, you can integrate OBS Virtual Camera with Discord and unlock more possibilities with your webcam. You can also try several layouts in OBS Studio. For instance, the program allows you to share slides while broadcasting your video simultaneously. Besides, don’t miss out on some other useful Discord-related tips, such as how to turn your Phone into a webcam for Discord.
Virtual Camera Guide
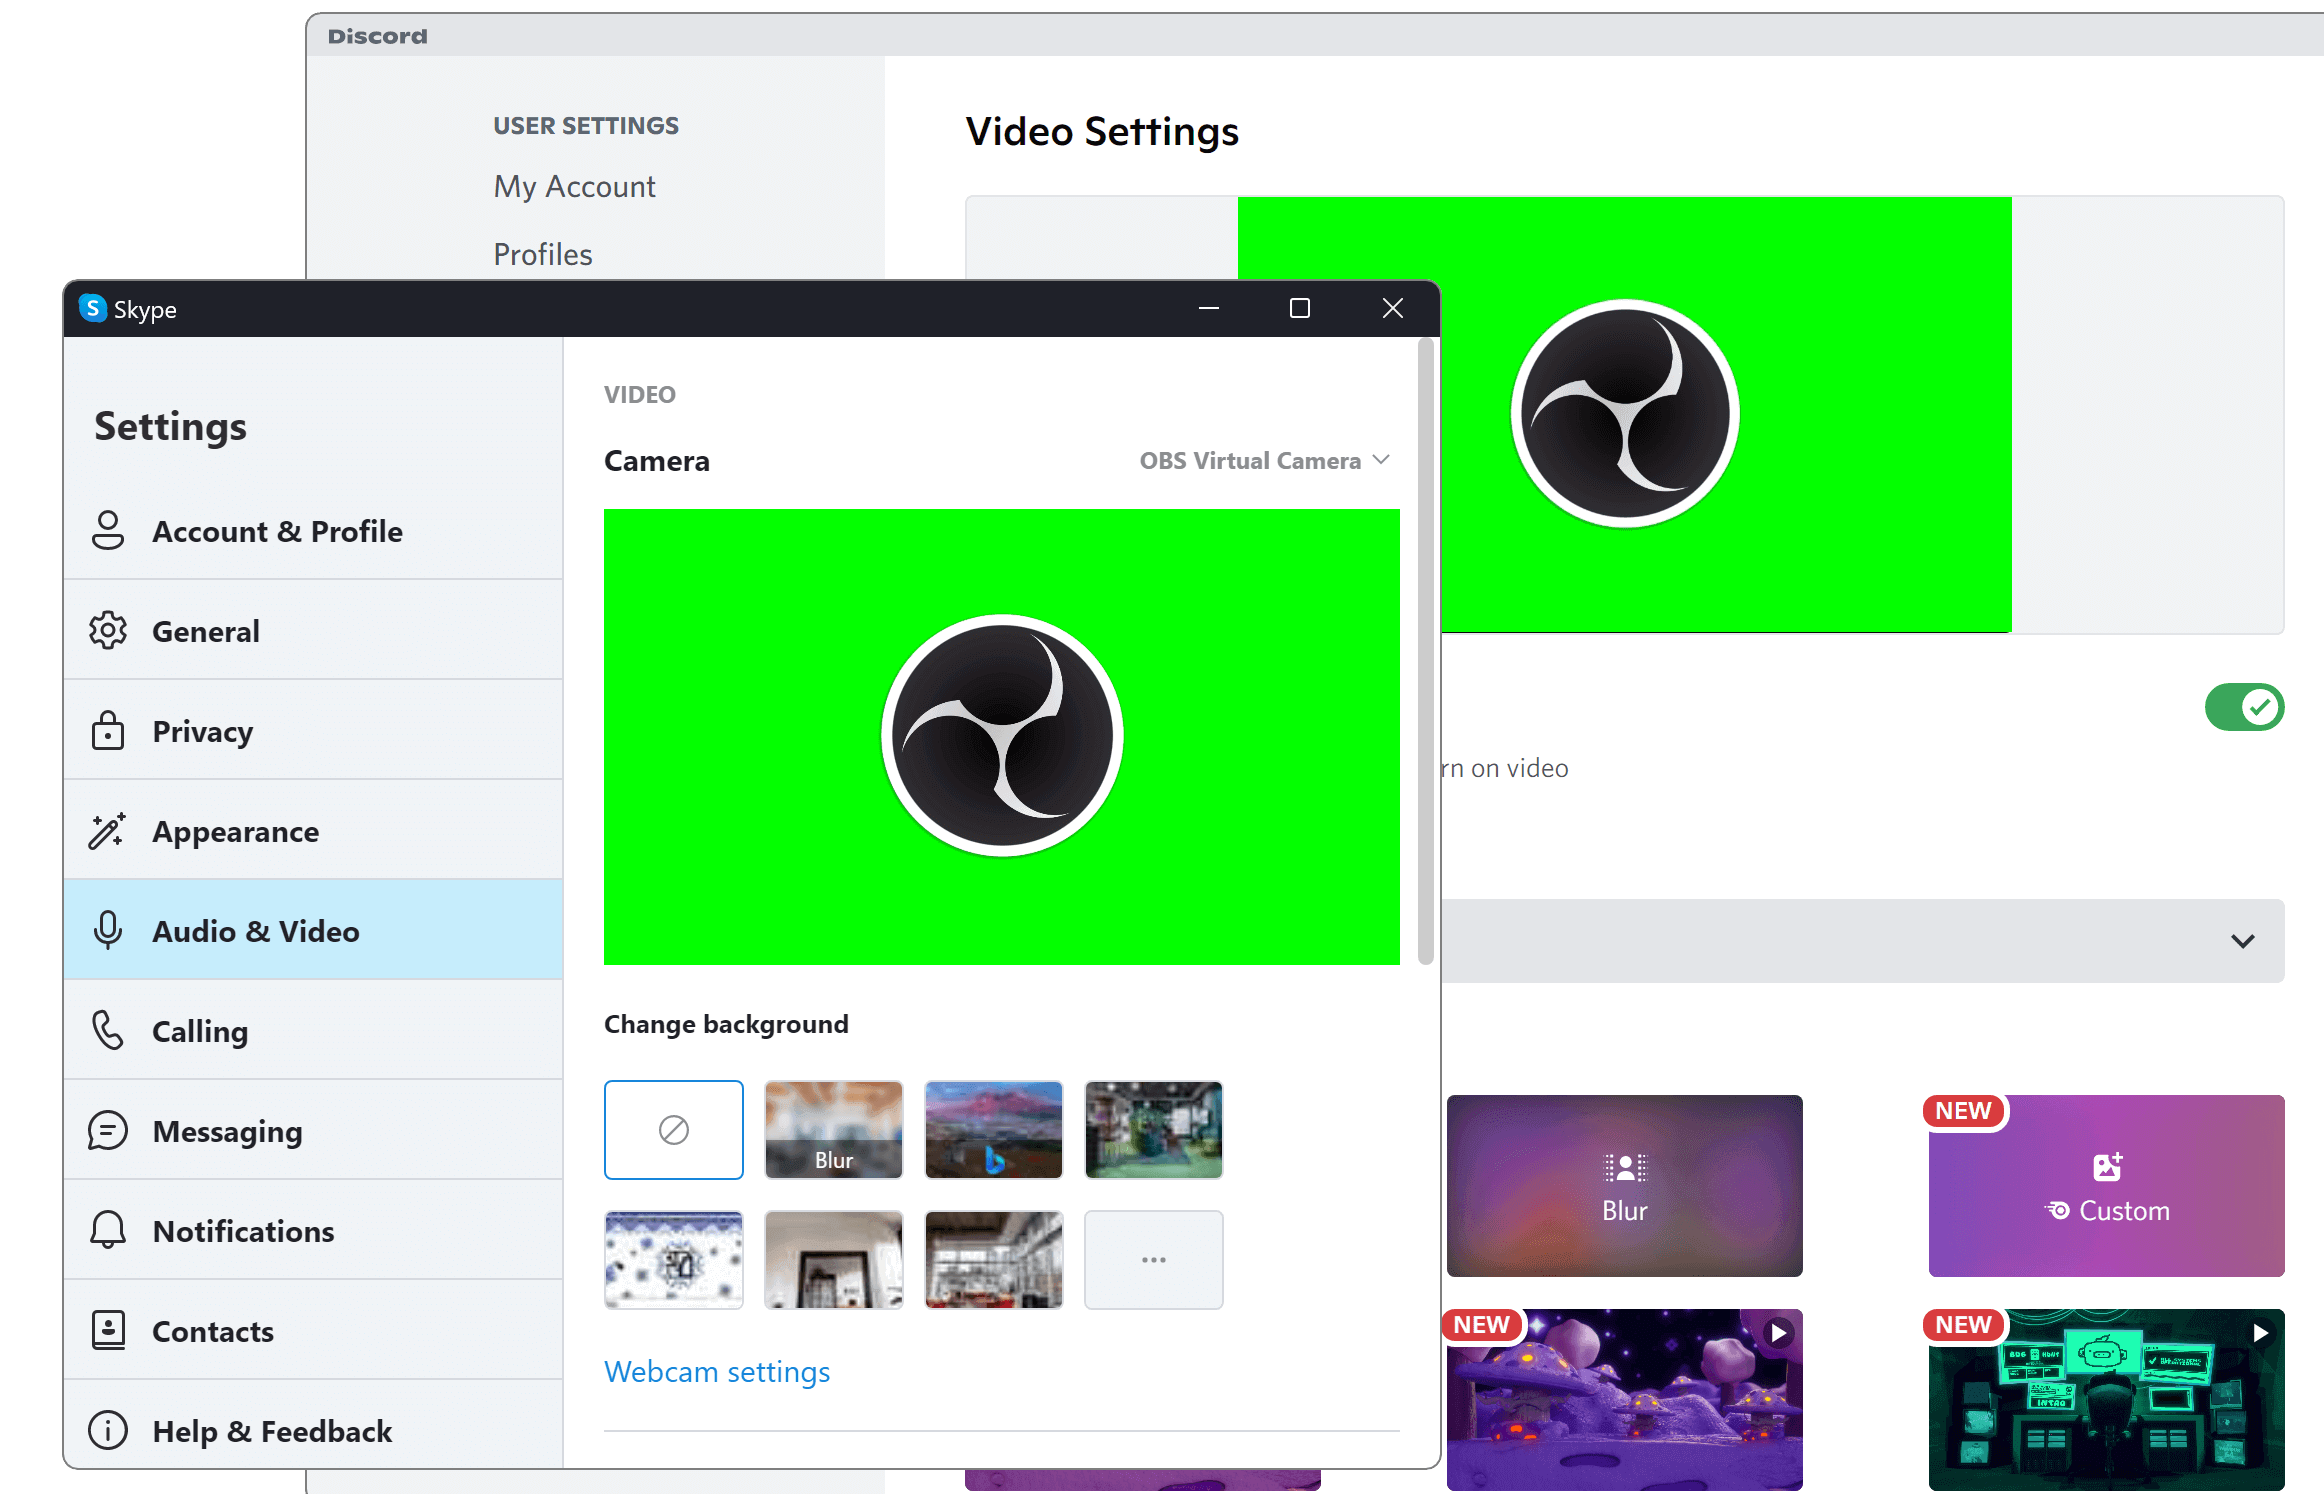
The Virtual Camera is a feature of OBS Studio that allows you to share your OBS Studio scene with any applications that can make use of a webcam, such as Zoom, Skype, Discord, etc. This feature is particularly useful for applications that cannot capture the screen directly.
Using the virtual camera
To start the virtual camera, click Start Virtual Camera in the Controls dock. To stop the virtual camera, click the same button again (which will be labelled Stop Virtual Camera).
To adjust settings for the virtual camera, click on the ⚙ Gear icon in the Controls dock.
From the Virtual Camera settings window, you can adjust the following settings:
- Internal
- Program Output: the virtual camera will show what OBS Studio normally outputs
- Preview Output: if using Studio Mode, the virtual camera will show the Preview. This means anybody watching the video feed will see you changing scenes, making edits, etc.
Show a single source in the virtual camera
In a future update, you will be able to select a single source for the virtual camera to show. Until then, you can show a single source by creating an extra scene containing the source.
- Add a new scene. In this tutorial, it will be called Virtual Camera.
- Add an existing source:
- click on the + Add Source button
- select the type of the source you want to show
- click on Add Existing
- select the source
(Alternatively, you can copy the source and paste a reference to it)
- Your Virtual Camera should contain a single source. You can resize the source to fit the source to the size of the scene.
The quickest method to fit a source to the scene is to right-click on the source and choose: